chrome 允许非https网站访问摄像头/麦等设备:
chrome://flags/#unsafely-treat-insecure-origin-as-secure
8/30 上海
7/30 一水长流池不涸,两贤互磋道终同
6/30 有一种回忆
5/30 如何化繁杂为有序
4/30 客舍青青柳色新
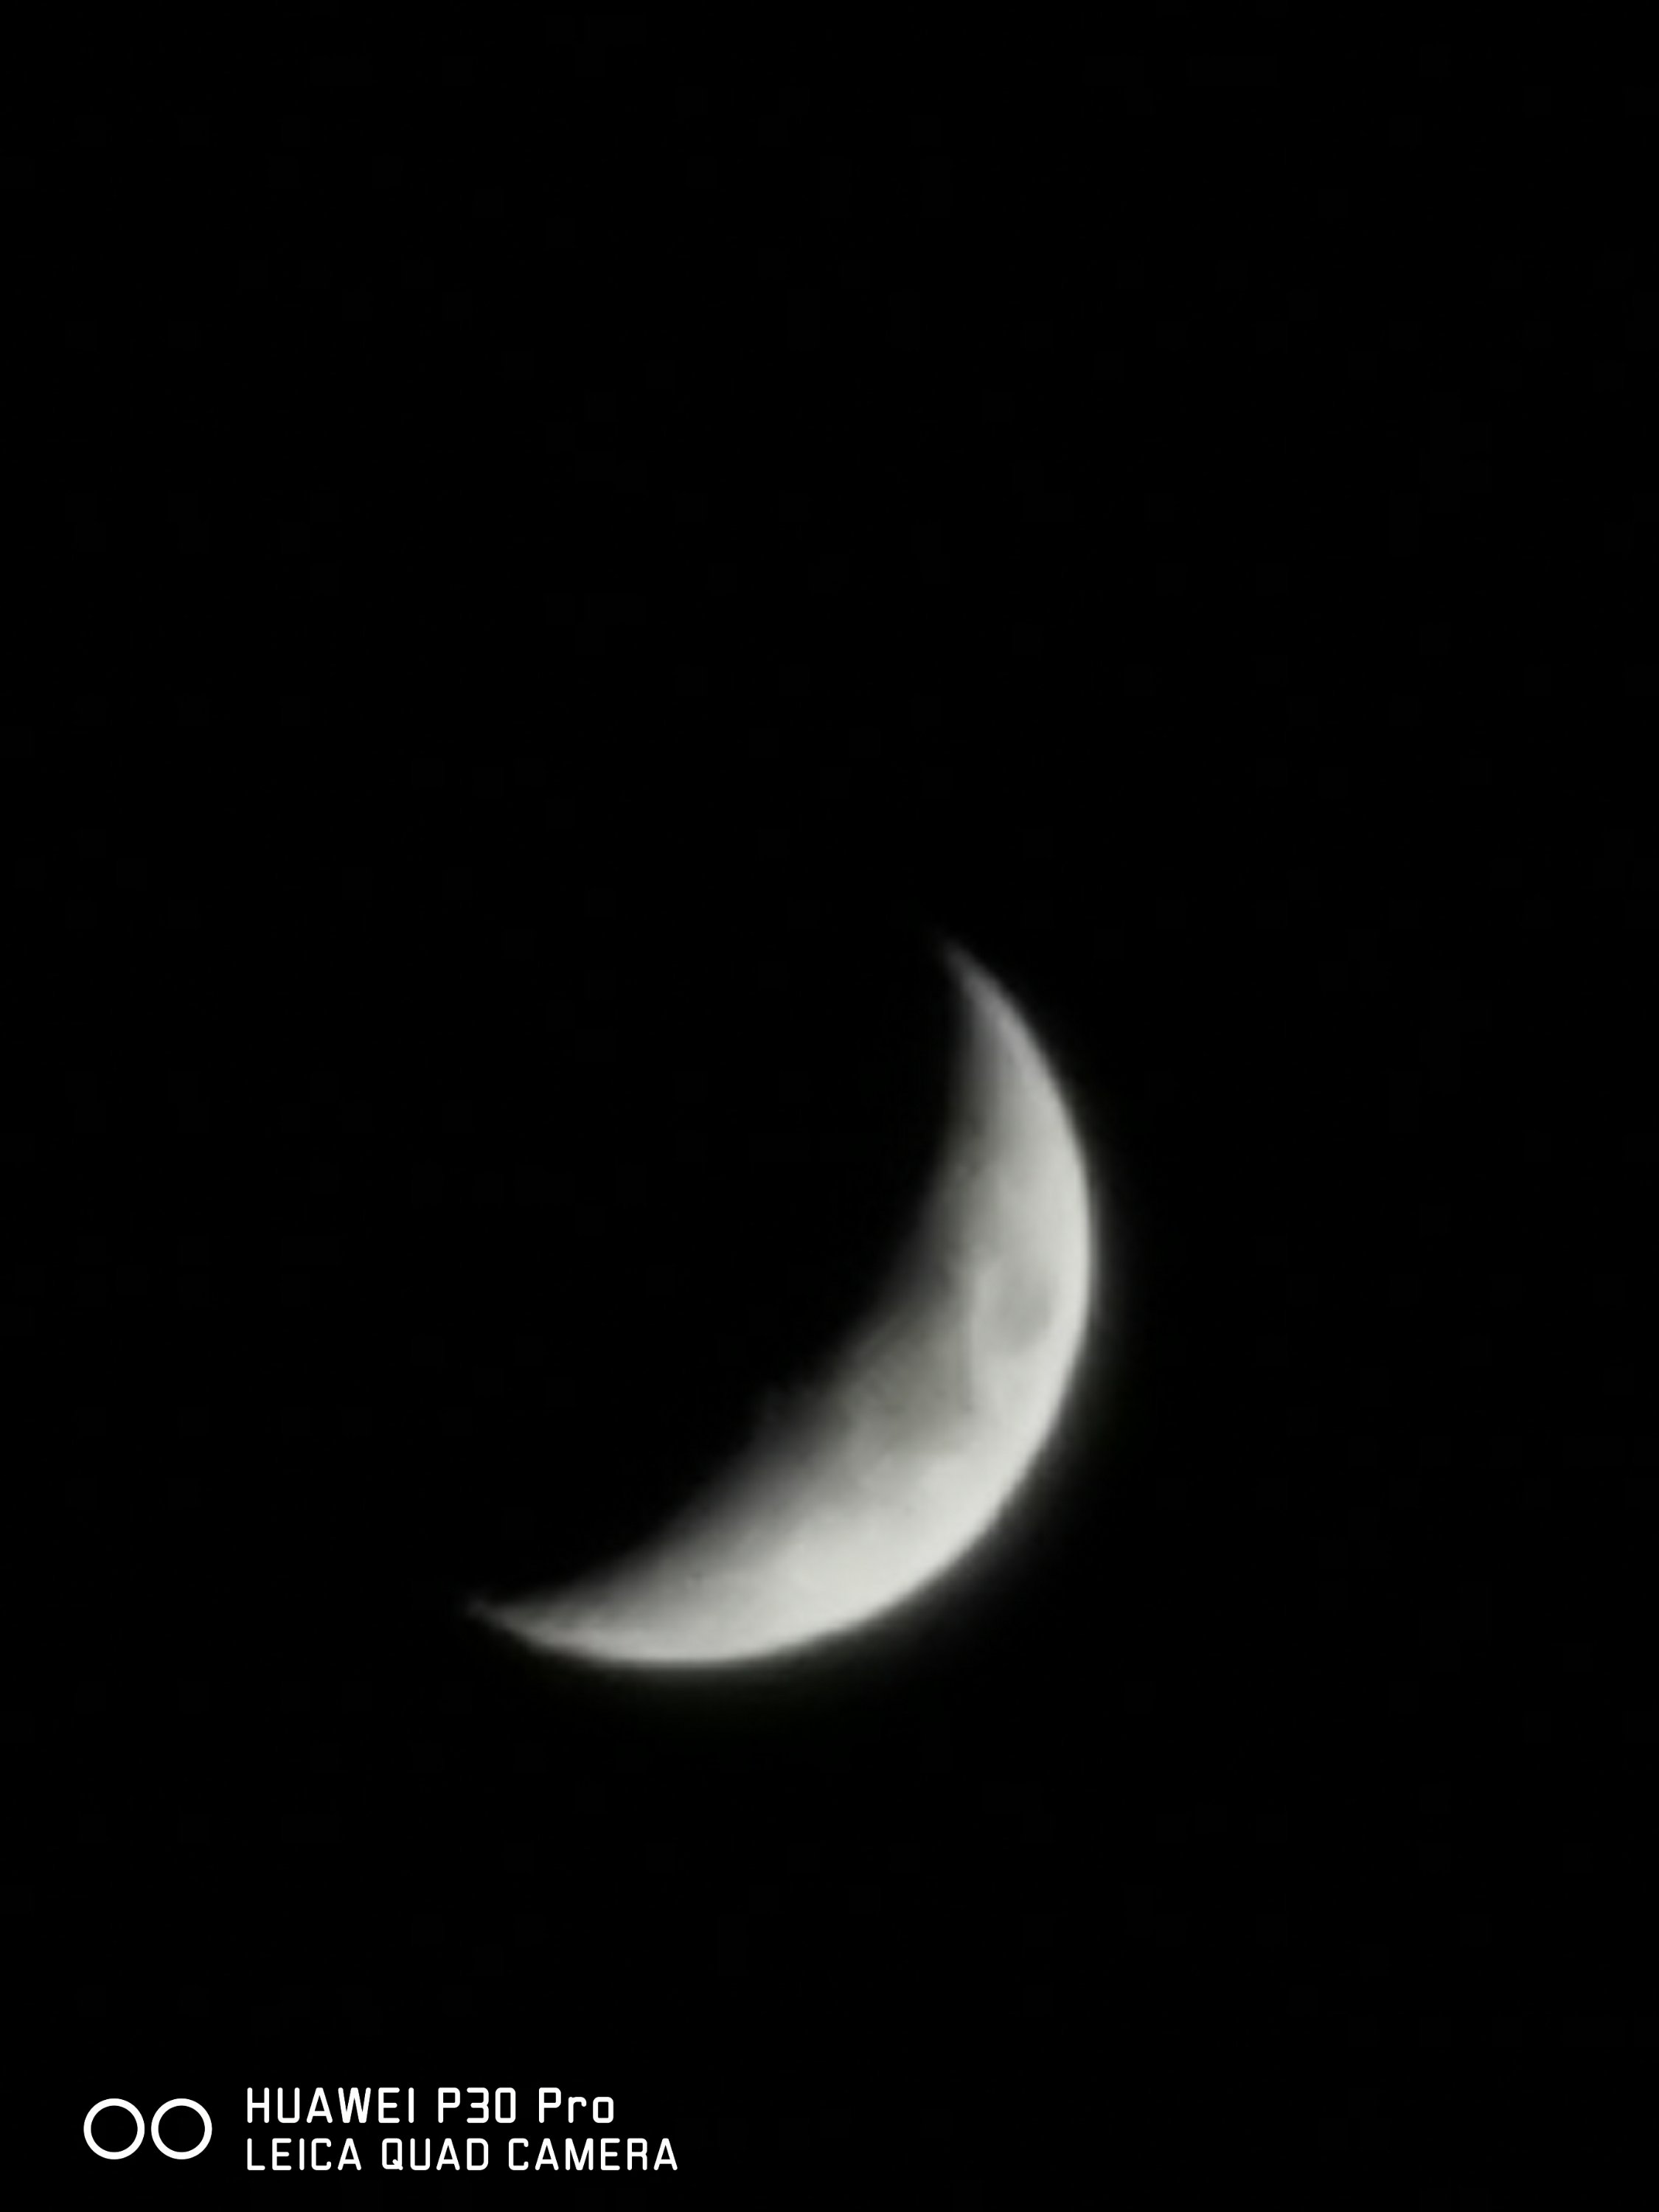
3/30 小时候每当皓月当空,月面上的环形山,月海总是清晰可见
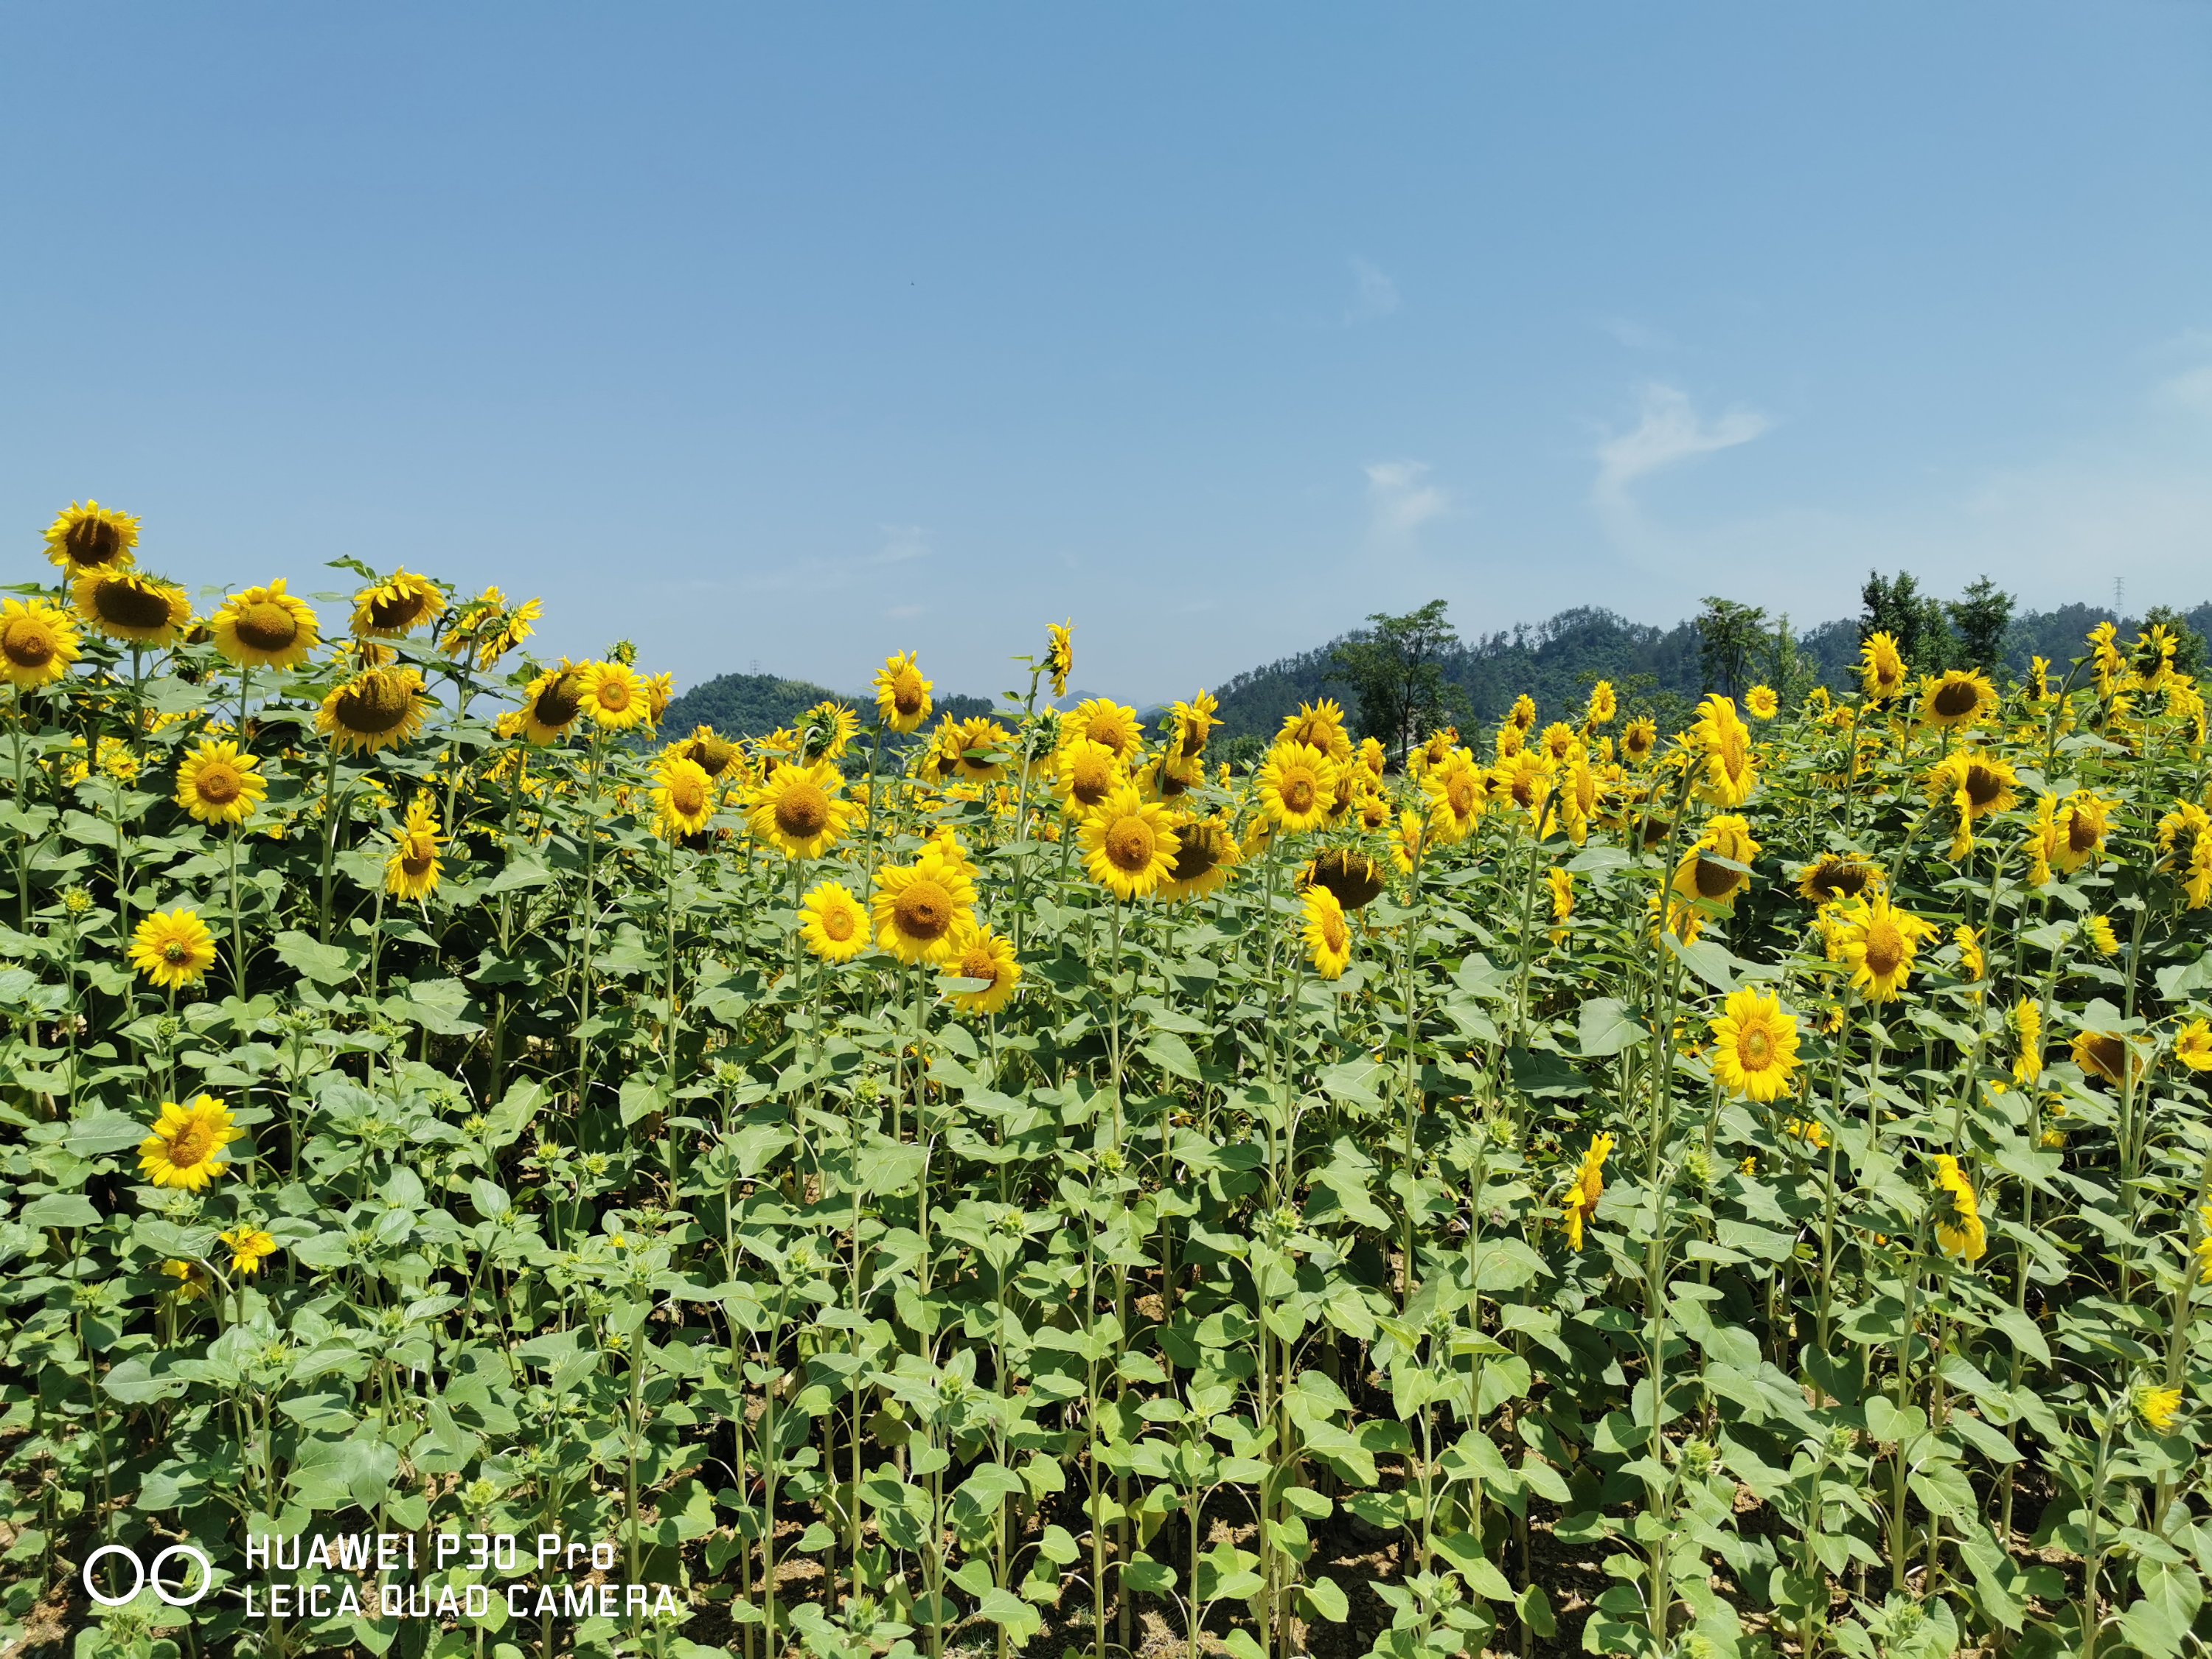
2/30 远山青青艳阳高照

近期评论